
An applet is a small application inside the m-Path app. It is easily accessible and has a large scope of features. You can use and adjust the example applet from the m-Path library or make your own applet.
Example applet
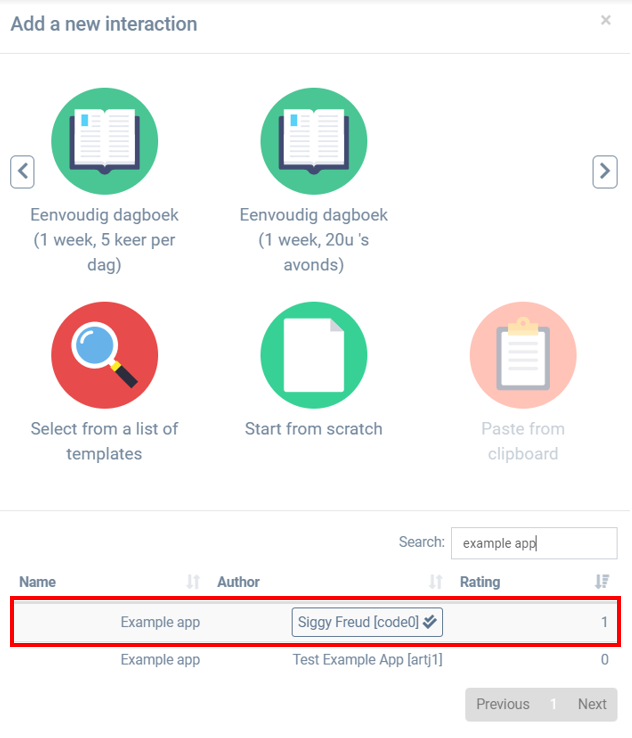
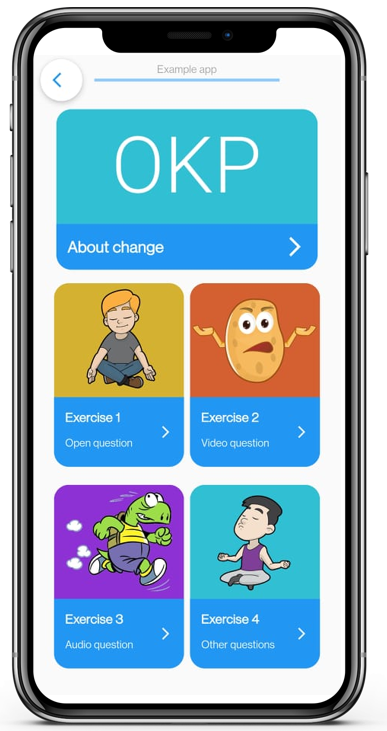
If you want a basic applet structure to start with, you can use an example from the library. To do so, follow these steps:
- Add a new interaction.
- Click on Select from a list of templates.
- Search ‘Example app’.
- Use ‘Example app’ from ‘Siggy Freud [code0]’.
Create your own applet
Add a new interaction
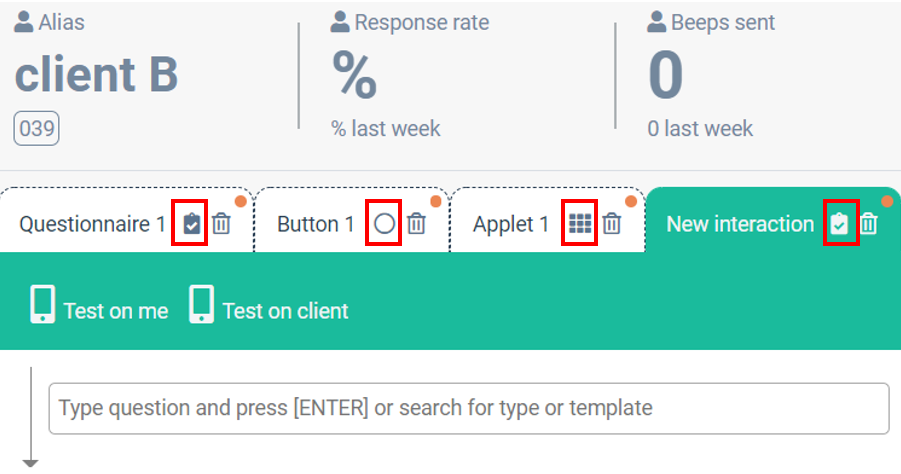
To add an applet, you have to add an interaction. For every interaction, there are specific properties which you can access by clicking on the symbol next to the name of your interaction, or next to New interaction if you start a new one.
Install applet
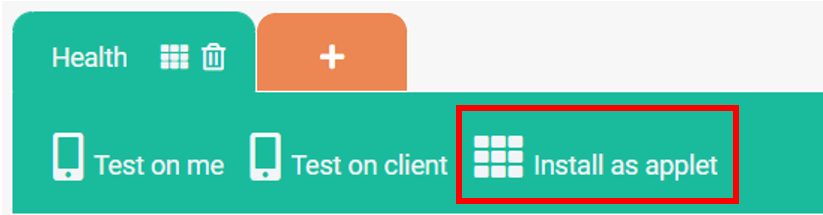
Do not forget to click on Install as applet. By doing so, your client will receive a notification to install the applet. Clients can have multiple applets, but only one (the latest used) will be displayed on their app home screen. Clients can manage their applets in the app settings. More information about adding an applet can be found here.
A button structure inside a container
To create a button structure inside a container, follow these steps:
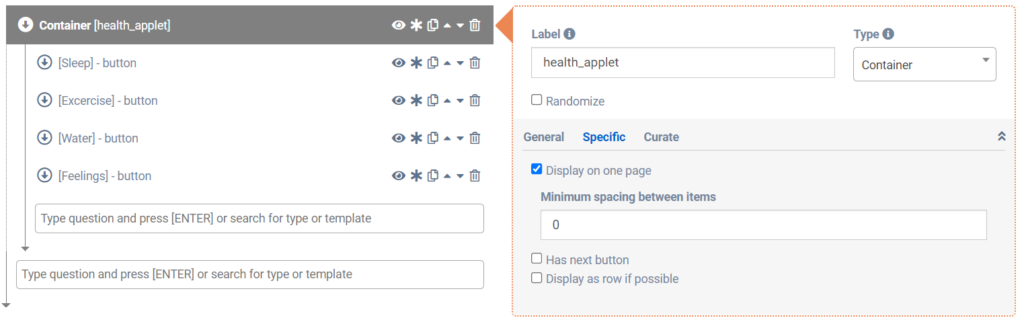
- Add a container (advanced item).
- Give your container a name and a label.
- Check Display on one page in the specific settings of the container.
- Add buttons to your container to set up a basic structure (add things to your container by clicking on the upside down arrow next to Container).
- Name and label your buttons.
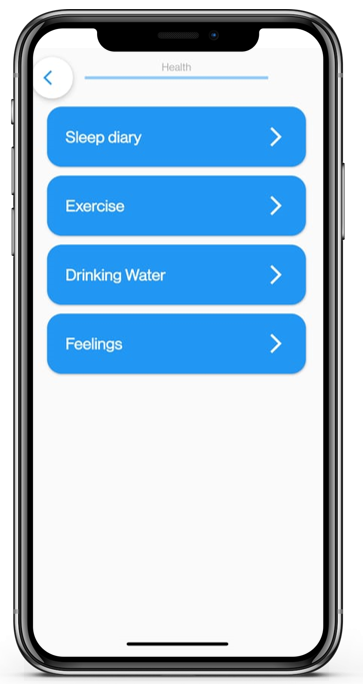
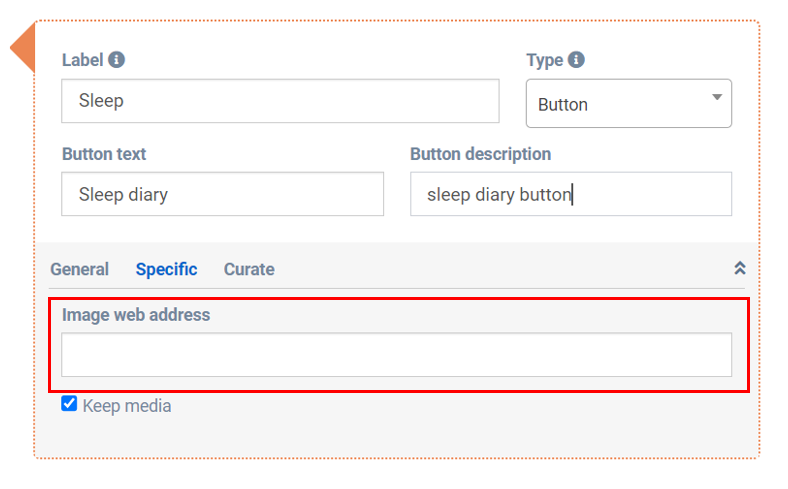
You can also adjust the lay out of the buttons by adding images. Click on a button and go to Specific settings.
Interaction behind a button
Questionnaire
Installing a questionnaire behind a button is quite the same as installing a normal questionnaire.
- Click on the upside down arrow next to your button.
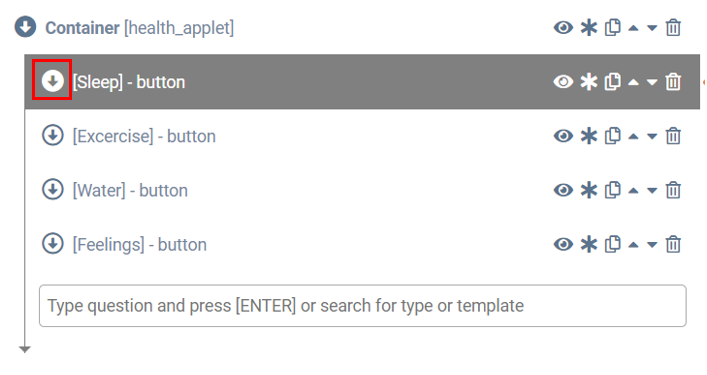
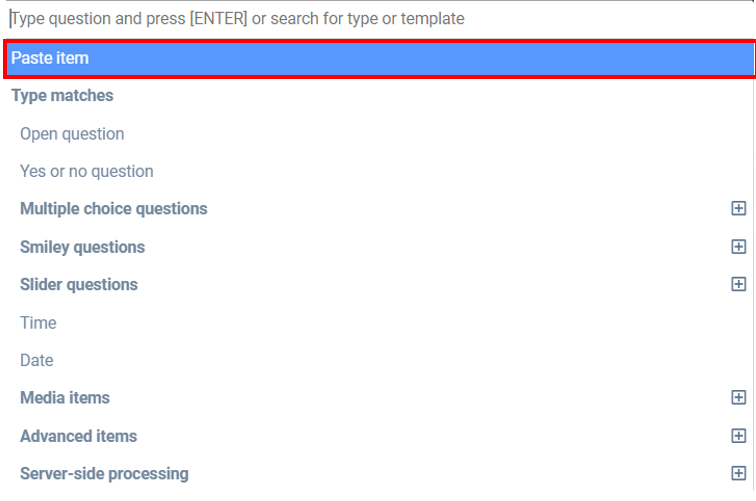
- Start adding questions like you would normally do.
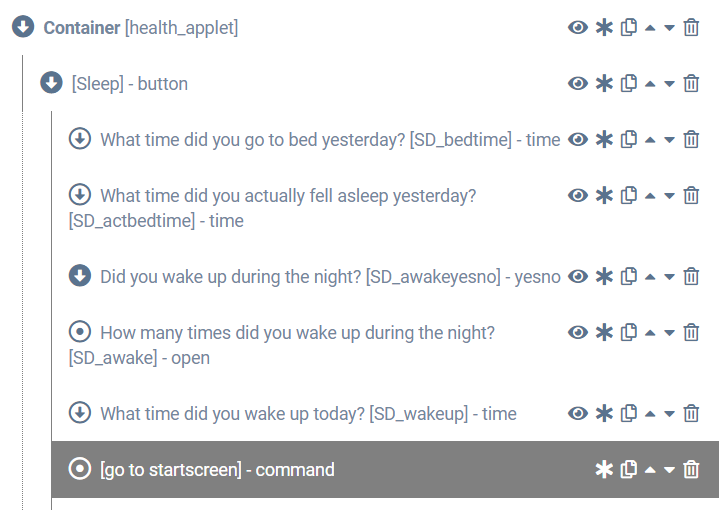
It is not possible to add a questionnaire from the library into an applet. The easiest way to add an existing questionnaire to your applet, is to copy the questionnaire (the whole container).

Media
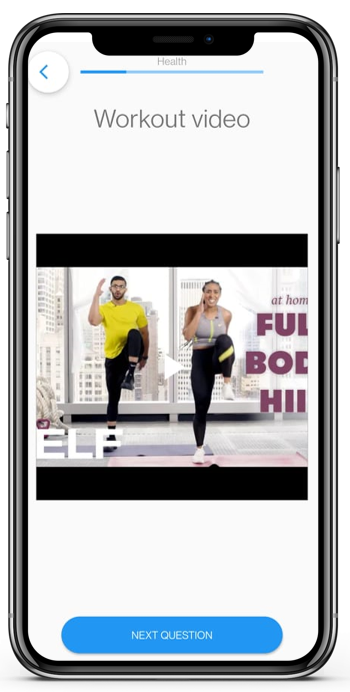
It is also possible to add a media item (text, audio, video, image) behind a button.
Saving and going back to home page
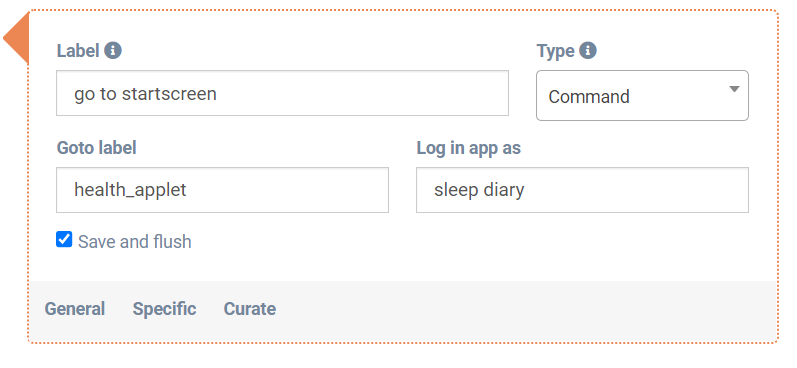
At some points (e.g. after an exercise), participants should go automatically back to the home screen and save all current progress. This can be done by using a command item (including save and flush and goto features).
Adding feedback in modules
There are multiple ways of including feedback into modules:
- Using a visualization module:
- Inserting a log of all answers
- Using piped text that refers to previous answers
Personalize applet
It is also possible to personalize the module screen or applet. An example on how to do so can be found in the library under ‘example app dynamic‘. Here, the buttons are dynamically shown. This set up can be used to
- Show more and more available exercises when a participant or client progresses
- Only show relevant modules for a participant (e.g. modules that actually interest the participant)
Searchbox in applet
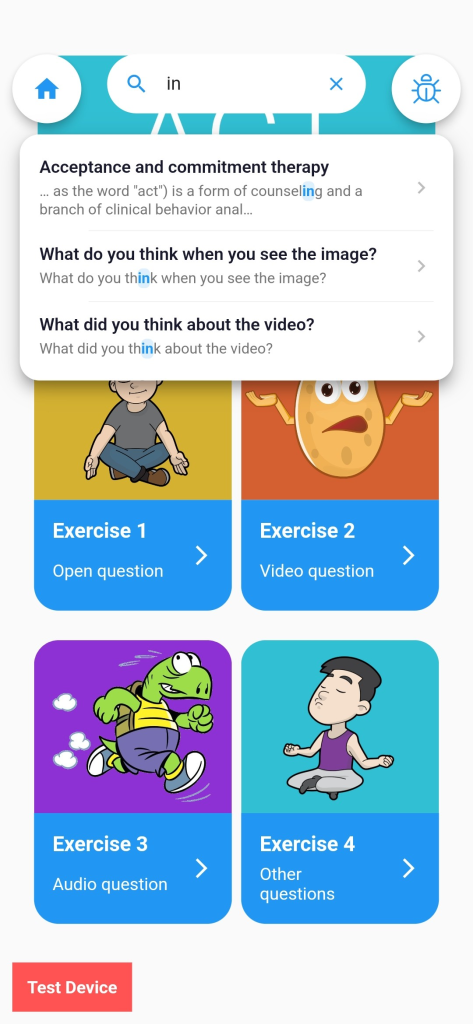
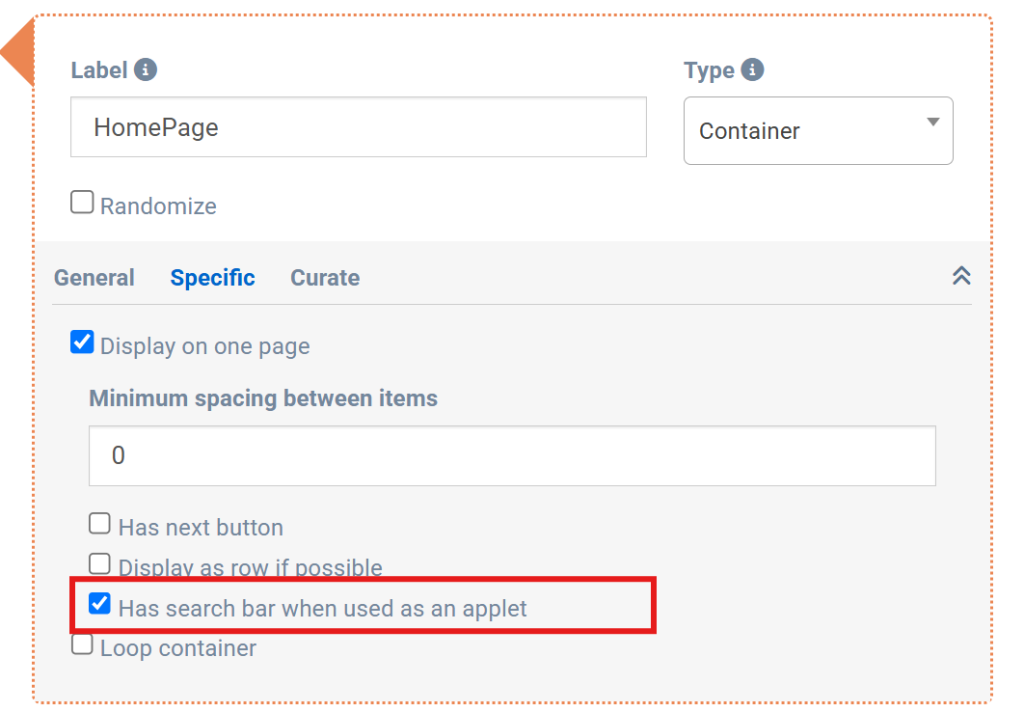
It is possible to add a search box in an applet (see image underneath). This makes it possible for participants to search inside the applet. To do so, researchers must enable the ‘has search bar when used as an applet‘ feature in the container of the homepage. Its not advised to use the search box anywhere else.
The text shown in the search box will include the searched term and a possible title if it is found in the HTML encoded text of that page.
Excluding questions
To hide specific questions, enter their labels in the Exclude box. For multiple labels, separate them with commas and no spaces, for example: label_to_exclude1,label_to_exclude2

Linking between pages of an applet
It is also possible to create links between pages of applets. This is explained here.